Asalamu alaikum,
After finishing up all the pleats we will now attach the belt and finish up our shalwar.
 Step 1
With the right sides facing sew a half inch seam in the belt pieces of your shalwar.
 Step 2
Fold over the seam allowance and sew a line of stitches 1/4 of an inch away to secure the seam allowance.

Step 3
With the right sides of the legs together, sew the center back seam of your shalwar.

It should look somewhat like this.

Step 4
Take one end of the belt and place it on the top of the leg pieces, the right side should be facing each other. The belt should be half an inch to the left of the center seam(this will be the center front seam allowance of the belt).

Pin the belt in place all around the legs, the center back seam of the belt and shalwar should be roughly at the same point.

What it looks like when you have finished pinning in place. The centerfront of the belt should over lap by half an inch for the center front seam.


Step 5
Sew from the center front seam of the legs around the shalwar and back to the front. Then sew up the center front seam of the belt, stopping 1.5 inches from the top(to leave a space for the drawstring.

Here is the belt attached to the legs.

Step 6
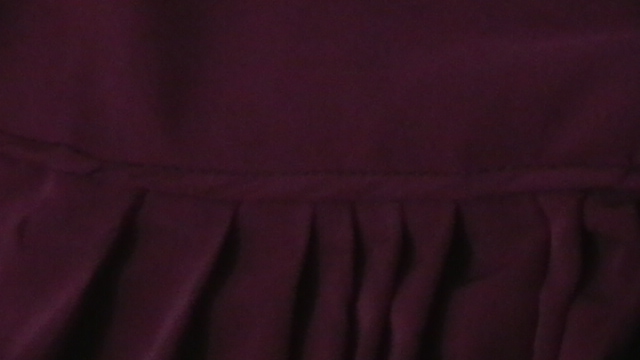
Now sew a line along the bottom of the belt to secure the seam allowance, it should be facing upwards.

Step 7
At the center front seam of the belt, fold the seam allowances away from the center by 1/4 inch and then fold the over 1/4 inch again. Sew a line down one side across the center seam and up the other side, this will be the opening in your drawstring casing.

Step 8
Starting at the openingyou made above, fold the top of the belt over by 1/2 an inch towards the wrong(inner) side.

Step 9
Fold it over by another inch to form the drawstring casing, do this all around coming back to the opening. Pin in place, and then sew a line of stitches all around on the bottom of the casing.

Step 10
On the wrong side of your shalwar, fold the leg in half and measure out along the hem from the fold 7", and mark, this is your foot opening.

Step 11
At the center crotch seam mark up 1/2 inch.

Step 12
Keeping the shalwar folded in half mark a lin from the foot opening to the center crotch seam, one inch away from the edge of your fabric. Do the same on the other leg. Sew the seam, starting at one foot, going up the leg to the center seam, and then down the other leg.
Now your shalwar is completed, give it a good pressing and it is ready for wear.
 Front view of the finished shalwar
 Back view of the pleated shalwar.
End of Part 3 for any questions please leave a comment.

 Activity Soft Box

 Step 3
 It should look somewhat like this.
 Step 4
 Pin the belt in place all around the legs, the center back seam of the belt and shalwar should be roughly at the same point.
 What it looks like when you have finished pinning in place. The centerfront of the belt should over lap by half an inch for the center front seam.
 Step 5
 Here is the belt attached to the legs.
 Step 6
 Step 7
 Step 8
 Step 9
 Step 10
 Step 11
 Step 12

 Another nice evening with Marilyn and Michael...The Canucks had a bad game but let's see what happens on Wed....then again Friday...what a week for hockey.


